Showing posts with label Design. Show all posts

March 3, 2015

Tiny Dude Hat.

So.  Tiny has a new hat!  And I have a new free hat pattern to offer you guys!

See for awhile there I thought we had lost the Red Fish, Blue Fish hat that he had been wearing.  Yes it's a hand-me-down from his brother but well... so is everything he owns.  I was pretty devastated it went missing - have you guys ever lost a favored handknit?  HEARTBREAKING.  Luckily we found it (under his sister's bed.  I don't even know) but in the meantime he got a new one.  There are some perks to having a knitter for a mother:

Tiny Dude Hat

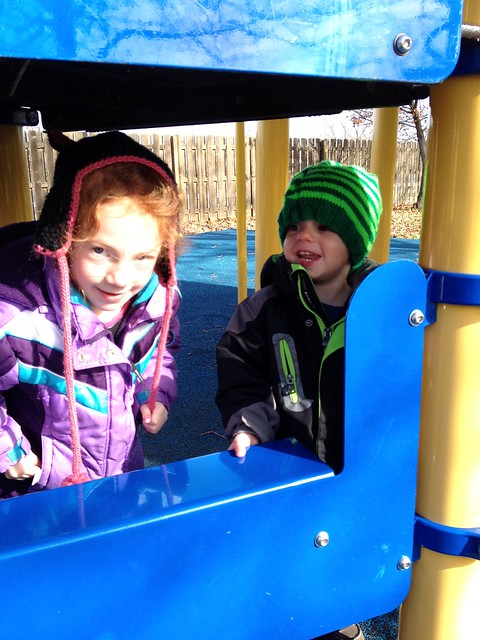
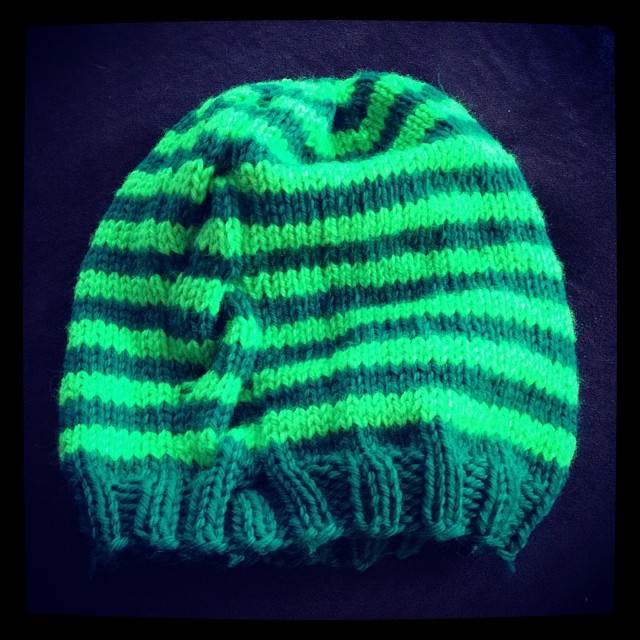
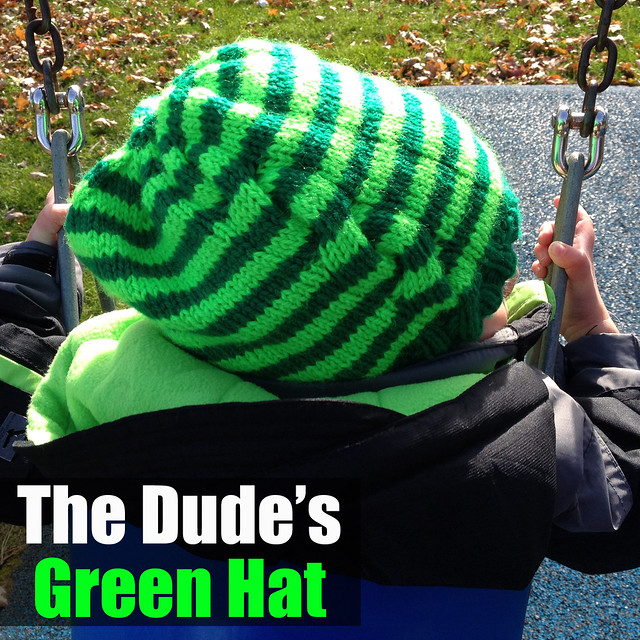
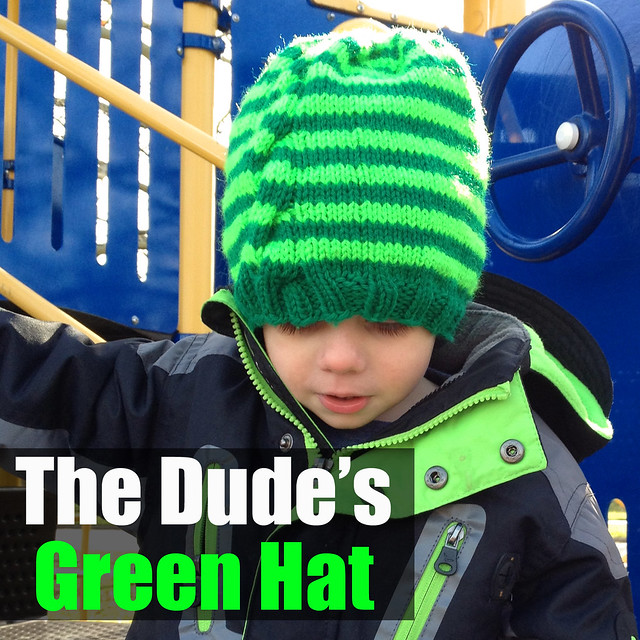
For the design of his new hat I started with the Dude's Slouchy Green Hat.  We receive compliments on it all the time and his brother basically lives in the thing:

Tiny Dude Hat

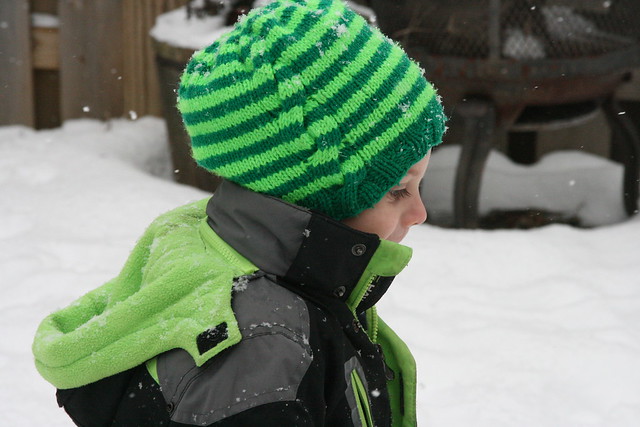
So I wanted something that complimented and riffed on that.  Similar but not the same.  A brother hat.
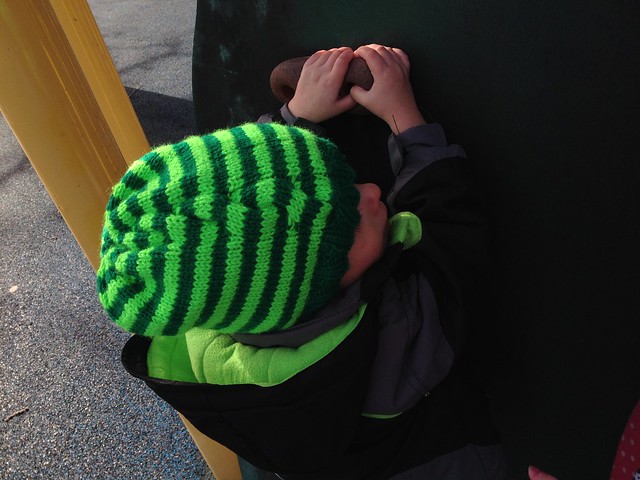
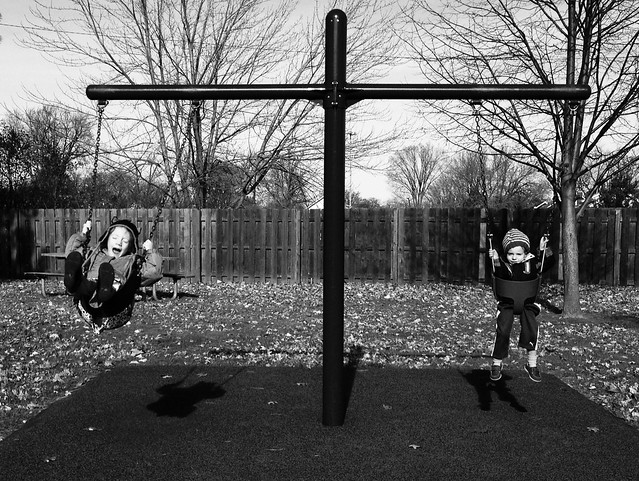
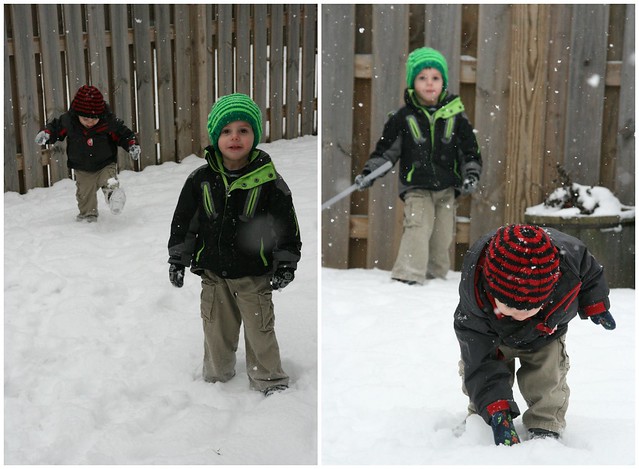
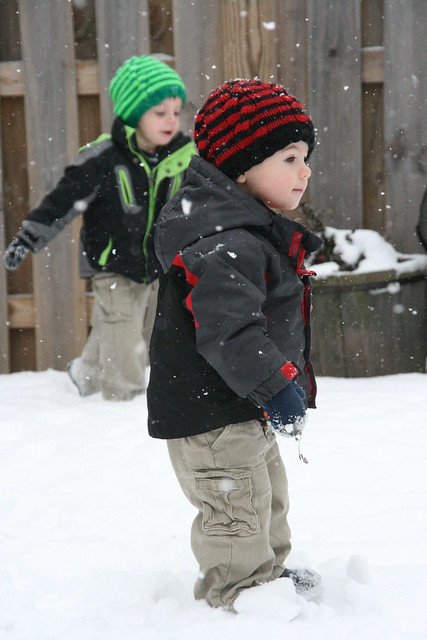
Tiny Dude Hat
BROTHERS.

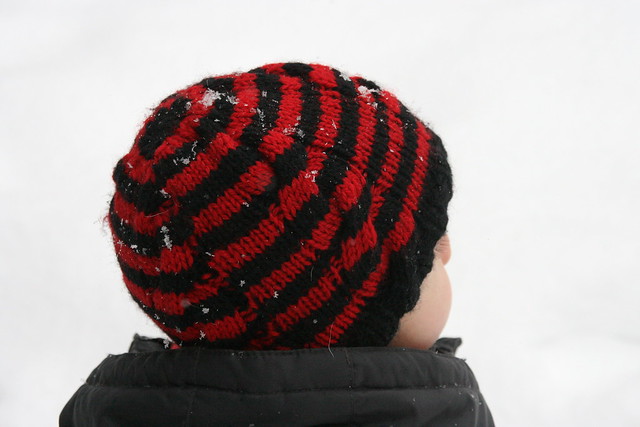
So I kept the 3 row stripes.  I also kept the long, lazy, cable.  But I used it in a different way - repeating it across the body of the hat for a more preppy look.
Tiny Dude Hat

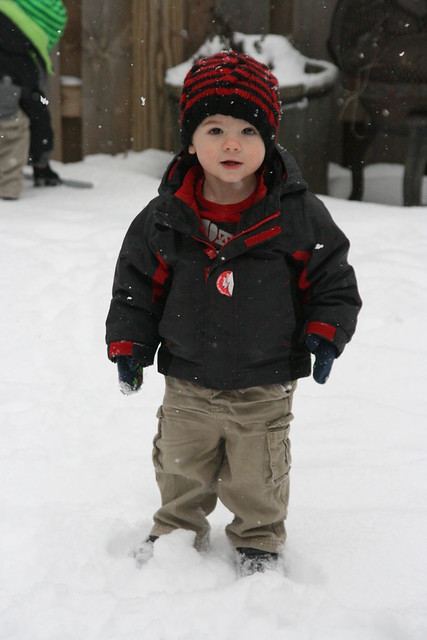
 I also made this hat fitted.  He's a more serious kid and therefore needed a more serious hat.

Tiny Dude Hat
I love how it came out!  And the two of them are adorable frolicking in the snow in their almost but not quite matching hats:

Brothers hats
WHEN IT'S WARM ENOUGH TO BE OUTSIDE THAT IS... I AM SO VERY SICK OF THIS WINTER.

 I wrote up the pattern for you to enjoy.  Yay for Brother Hats!

Tiny Dude Hat Pattern


Finished Size:  8" wide by 6-3/4" tall or fitting a 12-18 month old

Materials:
Worsted weight wool for Main Color (MC).  I used Patons Classic Merino in Black
Worsted weight wool for Contrast Color (CC).  I used Patons Classic Merino in Bright Red
Size 7 (or size needed to obtain gauge) double pointed needles
Tapestry needle for weaving in ends
Stitch marker (I usually have the end of round break at the end of Needle 4 and keep track of it that way but if you are using circulars you will need a stitch marker to mark the end of round.)


Gauge:  10 stitches and 15 rows = 2 inches.


Abbreviations:
MC - Main Color
CC - Contrast Color
K - Knit
P - Purl
K2tog - Knit two stitches together, decreasing 1.
K1fb - Knit in the front and the back of the stitch, increasing 1.
PM - Place Marker
SM - Slip Marker
C5B - Cable 5 Back - Slip 5 stitches onto a cable needle, hold to the back of the work, knit 5, knit the 5 from the cable needle.
C4B - Cable 4 Back - Slip 4 stitches onto a cable needle, hold to the back of the work, knit 4, knit the 4 from the cable needle.
C3B - Cable 3 Back - Slip 3 stitches onto a cable needle, hold to the back of the work, knit 3, knit the 3 from the cable needle.
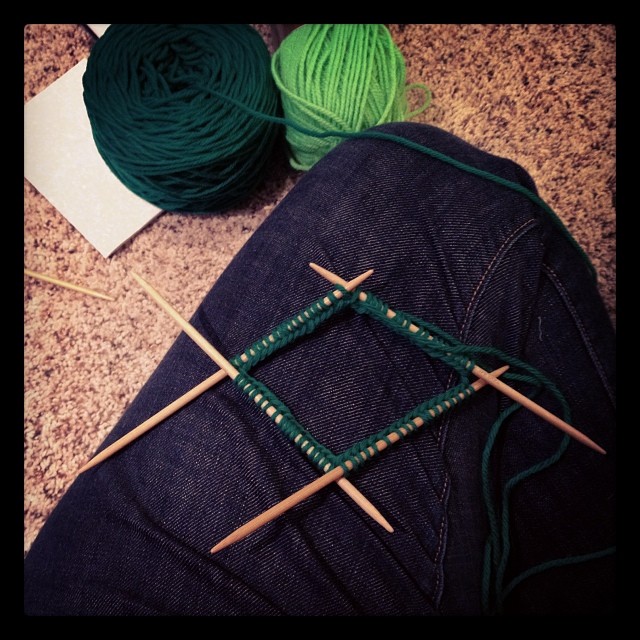
Instructions:
Using Main Color (MC), size 7 double pointed needles (or size needed to obtain gauge), and the long tail cast on method, loosely cast on 80 stitches dividing stitches evenly onto 4 double pointed needles.  Slip as to purl the first stitch from needle 1 onto needle 4 and slip the last stitch from needle 4 over the slipped stitch and onto needle one being careful not to twist stitches to form a smooth join.

Ribbing:
In MC: [P2, K2]  Repeat around.
Repeat Ribbing round for 1” or 7 rounds.

Set Up Round:
In MC:  [P1, K3, K1fb, K1fb, K3, P1, k6] Repeat around.

Main Pattern:
Round 1:  In MC:  [P1, K10, P1, K6]  Repeat Around..
Round 2:  In MC:  [P1, Cable 5 back, P1, K6]  Repeat around.
Round 3:  In MC:  [P1, K10, P1, K6]  Repeat Around.
Rounds 4-6:  In CC:  [P1, K10, P1, K6]  Repeat Around.
Rounds 7-9:  In MC:  [P1, K10, P1, K6]  Repeat Around.
Rounds 10-12:  In CC:  [P1, K10, P1, K6]  Repeat Around.

Repeat Main Pattern Rows 1-12 one more time, 2 times total.  Knit rounds 1-6 one more time.


At this point you should have ended on a CC round, and have 5 CC stripes and 3 cable crosses.

Decrease Rounds:
Round 1:  In MC:  [P1, K4, K2tog, K4, P1, K6] Repeat Around.
Round 2:  In MC:  [P1, K9, P1, K6]  Repeat Around.
Round 3:  In MC:  [P1, K4, K2tog, K3, P1, K6]  Repeat Around.
Round 4:  In CC:  [P1, K8, P1, K6]  Repeat Around.
Round 5:  In CC:  [P1, K3, K2tog, K3, P1, K6]  Repeat Around.
Round 6:  In CC:  [P1, K7, P1, K6]  Repeat Around.
Round 7:  In MC:  [P1, K3, K2tog, k2, P1, K6]  Repeat Around.
Round 8:  In MC:  [P1, Cable 3 Back, P1, K6]  Repeat Around.
Round 9:  In MC:  [P1, K4, K2tog]  Repeat Around.
Round 10:  In CC:  [P1, K5]  Repeat Around.
Round 11:  In CC:  [P1, K3, K2tog] Repeat Around.
Round 12:  In CC:  [P1, K2, K2tog]  Repeat Around.
Round 13:  In MC:  [P1, K1, K2tog]  Repeat Around
Round 14:  In MC:  [P1, K2tog] Repeat Around.
Round 15:  In MC:  [K2tog] Repeat Around.


Cut yarn and thread through remaining stitches, draw together and tuck in end. Tuck in the rest of the ends.

Here's the link to the Ravelry Page for the Tiny Dude Hat and link to the Dude's Slouchy Green Hat in case you want to make a matching set!
Tiny Dude Hat
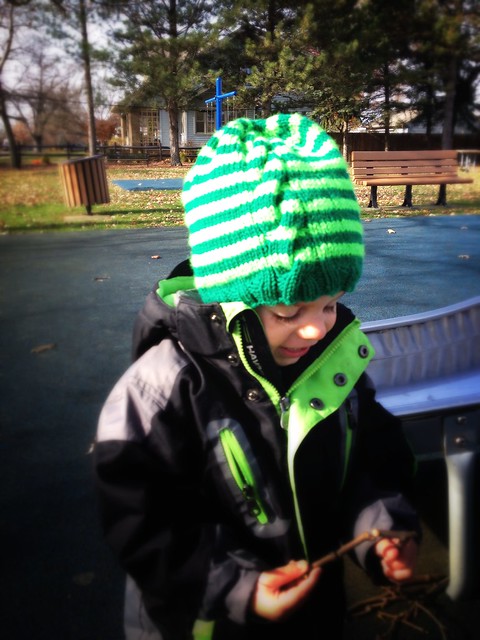
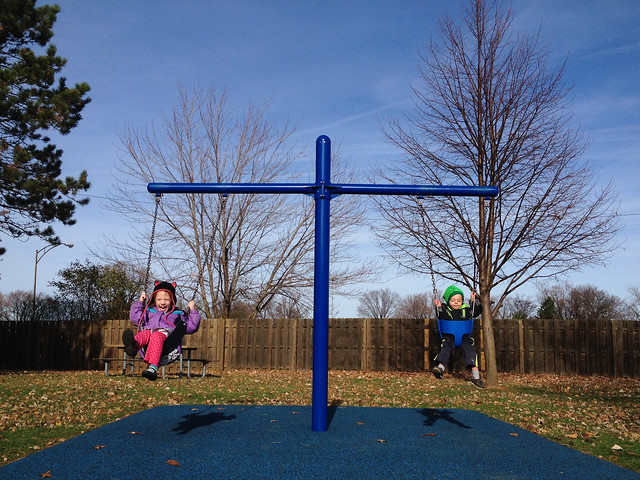
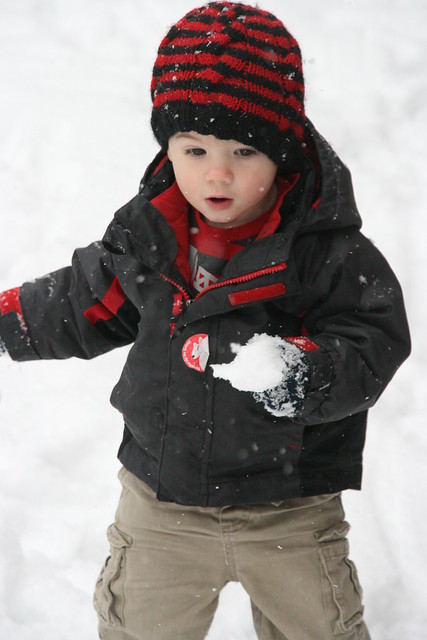
He is absolutely about to throw that at his brother.

November 21, 2014

Road Trip Yarn Club!

I am super excited to announce that Jeanne Stevenson of Destination Yarn and Kate Jackson of Kate Jackson Knits have teamed up to bring you the Road Trip Yarn Club!


This collaboration of yarn and patterns will take you on a road trip knitting adventure. Each month we will travel to a new location where the project, pattern, and yarn will all work together to capture the spirit of a place. By the end you will have traveled 3,000 miles via knitting!

Some pretty Destination Yarn.
Every month from January through August 2015 we will release a limited edition, hand-dyed yarn by Destination Yarn and an accompanying knit pattern by Kate Jackson Knits available only at Knitting on the Square and the Destination Yarn Etsy Shop.


Some pretty Kate Jackson Knits patterns.
For more information and to sign up go to the Destination Yarn Etsy Site.  Space is limited and pre-registration is only open until December 25!  I'm thinking this is about the PERFECT Christmas gift for the knitter in your life.

So you know when you're working on something in secret and you want to tell everyone but you can't?  THIS.  I have been waiting to tell everyone about this for weeks now because it is just going to be so awesome.  Seriously you guys I am having so much fun with this club!  Kate is a fantastic designer and just wonderful to work with.  This has been a true collaboration from start to finish.  The first colorway is dyed already (so that Kate can design and knit the pattern) and when she first saw it her response was "OOOOOOH I can't wait to knit with that!!!"  YUP.  It's going to be SO good.   SQUEE!

November 7, 2014

Help Me Name My Yarn.

So!  Those of you who are new around here might not know this but in addition to this blog I'm also the dyer behind Destination Yarn.   Occasionally I'll post about it here because who doesn't want to see pictures of pretty yarn?
It has been a great day!  I am here for another half hour if you wanted to stop by!   #thisiscle #yarn #handdyedyarn #knit #knitting #indiedyer #destinationyarn
Me with all the pretty yarn.
Sidenote:  The advice I keep hearing about blogging is that you should find a niche and stick to it.  Post only about that one thing and find your tribe of people interested in that one thing  And every time I hear that I just think HAAAAAAA OOOOOPS.

Anyways!  Yarn!

New Colorways
New Colorways!!!
I have a trunk show coming up next Saturday, November 15 at Yarn Cravin'.  I haven't been there in awhile and they are such a fun group of people so I wanted to dye up a couple of brand new colorways.  I was feeling uninspired by my own travel so I paged through pintrest until something struck my fancy:
Quebec City.
I found that image of Quebec City and just loved it.  The colors spoke to me even if I had never been there myself.  So I interpreted it as this:
oslo01
Black and pink and teal and blue!
Which, LOVE.  But then my daughter saw it and said it looked like something that I now can't unsee.  Any guesses?

oslo3

 Here let me put it next to a skein of one of my other colorways - Helsinki - see if that gets you there:

sisters04

Hmmm.. those colors look pretty familiar together...
sisters01

Maybe this will help:
"It's ANNA yarn!!!"

RIIIIIIIGHT.  So I accidentally dyed Anna yarn.  Exactly.  I perhaps maybe have seen that movie one to many times.  So I did a little research and it turns out that Frozen is based on Norway:
Pictured:  The North Mountain?
My question is this:  Do I stick to calling the yarn Quebec City or do I lean in and name it Oslo?

oslo2
Either way it's pretty.
My next new colorway is this one:

purple01

I've had the color combo of greys, purple, and yellow floating around my head for awhile now.  Finally I put it to yarn.  Even if I had no place to reference.  Which is not how I normally do things.  I loooooove it, though:

purple08

But I have no idea what to name it.  I mean what place is purple, grey, and yellow?

purple04
Help?

Both of these new colorways and a bunch more pretty will be at Yarn Cravin' all day November 18!

January 26, 2014

The Dude's Slouchy Green Hat.

So!  How about a free knitting pattern for a kid's slouchy hat?

The Dude's Green Hat.

 See way back at the beginning of this winter thing my dude told me that he wanted me to knit him a Green Hat.

My dude wants a green hat so a green hat he shall have. #knit #knitting #love #hat #green
Green, you see, is his FAVORITE color.  To the point where if it exists and it's green then obviously it is his.  OBVIOUSLY.

The Dude's Green Hat.
I wanted to knit him a hat that fit his cool dude personality.  So I decided on a slouchy, over-sized, rasta like shape.

The Dude's Green Hat.
Also as much as I liked the bright, BRIGHT, green accents in his jacket that color alone seemed too shocking.  So I added in the skinny, emerald green stripes to tone it down.

The Dude's Green Hat.

 Then I added in one, simple, relaxed cable to give it some interest.

The Dude's Green Hat.

 I love how it turned out!  He's been wearing it all winter - won't go anywhere without MINE GREEN HAT:

The Dude's Green Hat.

 And the combo of skinny stripes and cables makes my heart sing:

The Dude's hat is done!  Can't wait to see it on him!! #knit #knitting #handknit #hat #stripes

Since we're snowed in right now - which is the perfect time for Knitting All The Things - I thought I'd write up the pattern and share it with you guys. (you can see it on Ravelry here:  The Dude's Slouchy Green Hat)

The Dude's Green Hat.

The Dude's Green Hat.

The Dude's Slouchy Green Hat.

Size:  Approx. 2T-3T.  This hat is slouchy and over-sized.  It should fit my 2.5 year old for many years!

Gauge:  10 stitches and 15 rows = 2 inches.

Materials:
70 yards of worsted weight wool in Main Color (MC) I used Cascade 220 in color #8894 (green)
65  Yards of worsted weight wool in Contrast Color (CC) Plymouth Encore in color #477 (bright green)
Size 7 double pointed needles (or size needed to obtain gauge)
Stitch Markers (2 and an additional one for the end of round - I usually have the end of round break at the end of Needle 4 and keep track of it that way but if you are using circulars you will need one)
Tapestry Needle

Abbreviations:
MC - Main Color
CC - Contrast Color
K - Knit
P - Purl
K2tog - Knit two stitches together, decreasing 1.
K1fb - Knit in the front and the back of the stitch, increasing 1.
PM - Place Marker
SM - Slip Marker
C5B - Cable 5 Back - Slip 5 stitches onto a cable needle, hold to the back of the work, knit 5, knit the 5 from the cable needle.
C4B - Cable 4 Back - Slip 4 stitches onto a cable needle, hold to the back of the work, knit 4, knit the 4 from the cable needle.


Note:  When working the stripes in the round it looks nicer to use a jogless stripe.  There’s a decent tutorial on that here:  Jogless Stripes.


Instructions:
Using Main Color (MC), size 7 double pointed needles (or size needed to obtain gauge), and the long tail cast on method, loosely cast on 68 stitches dividing stitches evenly onto 4 double pointed needles.  Slip as to purl the first stitch from needle 1 onto needle 4 and slip the last stitch from needle 4 over the slipped stitch and onto needle one being careful not to twist stitches to form a smooth join.

Ribbing:
In MC:  [K2, P2] repeat around.
Repeat ribbing round 5 more times, 6 times total.

Setup Round:
In MC:  [K2, K1fb, K1fb] repeat stitches in bracket 5 times, K2, PM, P1, K3, K1fb, K1fb, K3, P1, PM, [K2, K1fb, K1fb] repeat stitches in bracket around.

At this point there will be 98 stitches on the needles.

Begin Body Pattern starting on Round 2 of Body Pattern instructions.  Knit rounds 2-12, then knit rounds 1-12 two more times.  Knit rounds 1-9.  At this point you will have completed 7 MC stripes.  Begin Decrease Rounds.

Body Pattern:
Round 1: In MC:  K to marker, SM, P1, K10, P1, SM, K to end.
Round 2: In MC:  K to marker, SM, P1, C5B, P1, SM, K to end.
Round 3: In MC:  K to marker, SM, P1, K10, P1, SM, K to end.
Rounds 4-6:  In CC: K to marker, SM, P1, K10, P1, SM, K to end.
Rounds 7-9:  In MC: K to marker, SM, P1, K10, P1, SM, K to end.
Rounds 10-12:  In CC: K to marker, SM, P1, K10, P1, SM, K to end.

Decrease Rounds:
Round 1:   In CC: K to marker, SM, P1, K10, P1, SM, K to end
Round 2:  In CC:  [K5, K2tog] repeat stitches in bracket 4 times, K4, SM, P1, K4, K2tog, K4, P1, SM, K3, K2tog, [K5, K2tog] repeat stitches in bracket to end.
Round 3:  In CC:  K to marker, SM, P1, K9, P1, SM, K to end.
Round 4:  In MC:  [K4, K2tog] repeat stitches in bracket 4 times, K4, SM, P1, K4, K2tog, K3, P1, SM, K2, K2tog, [K2, K2tog] repeat stitches in bracket to end.
Round 5:  In MC:  K to marker, SM, P1, C4B, P1, SM, K to end.
Round 6:  In MC:  [K3, K2tog] repeat stitches in bracket 4 times, K4, SM, P1, K3, K2tog, K3, P1, SM, K1, K2tog, [K3, K2tog] repeat stitches in bracket to end.
Round 7:  In CC:  K to marker, SM, P1, K7, P1, SM, K to end.
Round 8:  In CC:  [K2, K2tog] repeat stitches in bracket 4 times, K1, K2tog, K1, SM, P1, K3, K2tog, K2, P1, SM, K2, [K2, K2tog] repeat stitches in bracket to end.
Round 9:  In CC:  [K1, K2tog] repeat stitches in bracket 4 times, K2tog, K1, SM, P1, K1, K2tog, K2tog, K1, P1, SM, K3, K2tog, [K1, K2tog] repeat stitches in bracket to end.
Round 10:  In MC:  K2tog around.
Round 11:  In MC:  K2tog around.

Cut yarn and thread through remaining stitches, draw together and tuck in end. Tuck in the rest of the ends.

And a couple of bonus pictures from back when we could go outside.  Before Cleveland became a frozen tundra and we knew about things like the Polar Vortex...

The Dude's Green Hat.
The Dude's Green Hat.The Dude's Green Hat.
 Ugh.  I miss being able to easily take them outside.  I'll just have to bury myself in hand knits until spring...

October 15, 2013

Two T-Shirt Infinity Scarf.

So.  Have you ever had a treadmill day?  Where you run and run and run and are in exactly the same place that you started?  Where you've been moving, working, cleaning all day AND YET the house is a mess, the laundry is unfolded, there's nothing to eat, and the kids are wild people?

So many patterns! #fashion #kids
Yeah.  I mean let's face it.  A whole lot of my life is doing things that are going to be immediately undone.  Clean clothes on the baby?  Spit up 5 minutes later.  Kids fed?  Need a snack as soon as the dishes are done.  Laundry?  I CAN'T EVEN.

My face after having to change his pj's for the FOURTH time. Since 7:30.
My face after having to change his PJ's for the FOURTH time.  In an hour.
Sigh.

Every once in awhile I snap and NEED to see something finished.  Accomplished.  Done.  So that I can look at the day and say THAT.  I did THAT.  It's not much but it exists!

Last week I had one of those moments when I went to change out of a spit up on shirt only to find that my fav grey t-shirt - the one that had been worn to the perfect level of softness and always fit no matter what stage of pregnancy/postpartum/nursing madness I was in - had a stain on it.

2 T-shirt Infinity Scarf
Much sadness ensued.  And then rage.  Because SERIOUSLY.  So I tweeted the following:
I have a HUGE stain on my fav gray tshirt. So I''m going to turn that sucker into a scarf. Thanks pintrest!
And then less than an hour later Instagrammed this:

BOOM. Scarf. Quickest project ever and wow did I need a win today. #upcycle #scarf #tshirt #sewing #sew #hipster
Boom.  Scarf.
Super simple, super quick, accomplished in between dealing with kid issues, and a completely needed WIN.
Two tshirt infinity scarf
Here's the rundown.  I cut the arms off.

2 T-shirt Infinity Scarf
Boom, scarf!  Wait.
But the kids weren't currently destroying anything and I had a bag of maternity shirts ready to go to goodwill next to my sewing table so... I cut the arms off another shirt:

2 T-shirt Infinity Scarf
Cut the hems off and then cut them to the same width - 10 inches seemed like a good amount.

2 T-shirt Infinity Scarf
Cut the side seams off so that they were four pieces of fabric:

2 T-shirt Infinity Scarf
And then sewed the four pieces together, alternating colors.  I used a zig zag stitch because it was a stretchy knit and got super fancy using pink thread on one side and grey on the other.

2 T-shirt Infinity Scarf
Look I can sew a straight line!  kindof.
Cut the seams close to the zig zag and stretched the whole thing out a bit.... that's it.  BOOM. SCARF!

2 T-shirt Infinity Scarf
I apologize for the terrible quality of the pictures in this post.  Photographing it all with the real camera and good lighting and doing my hair would have taken longer than making the scarf and that just seemed silly.
And then I fell down a pintrest rabbithole of tshirt to scarf redos.  So. Many. Options!  So many maternity shirts to destroy!  I think this might be my new favorite instant gratification project.
Our Three Peas
Related Posts Plugin for WordPress, Blogger...